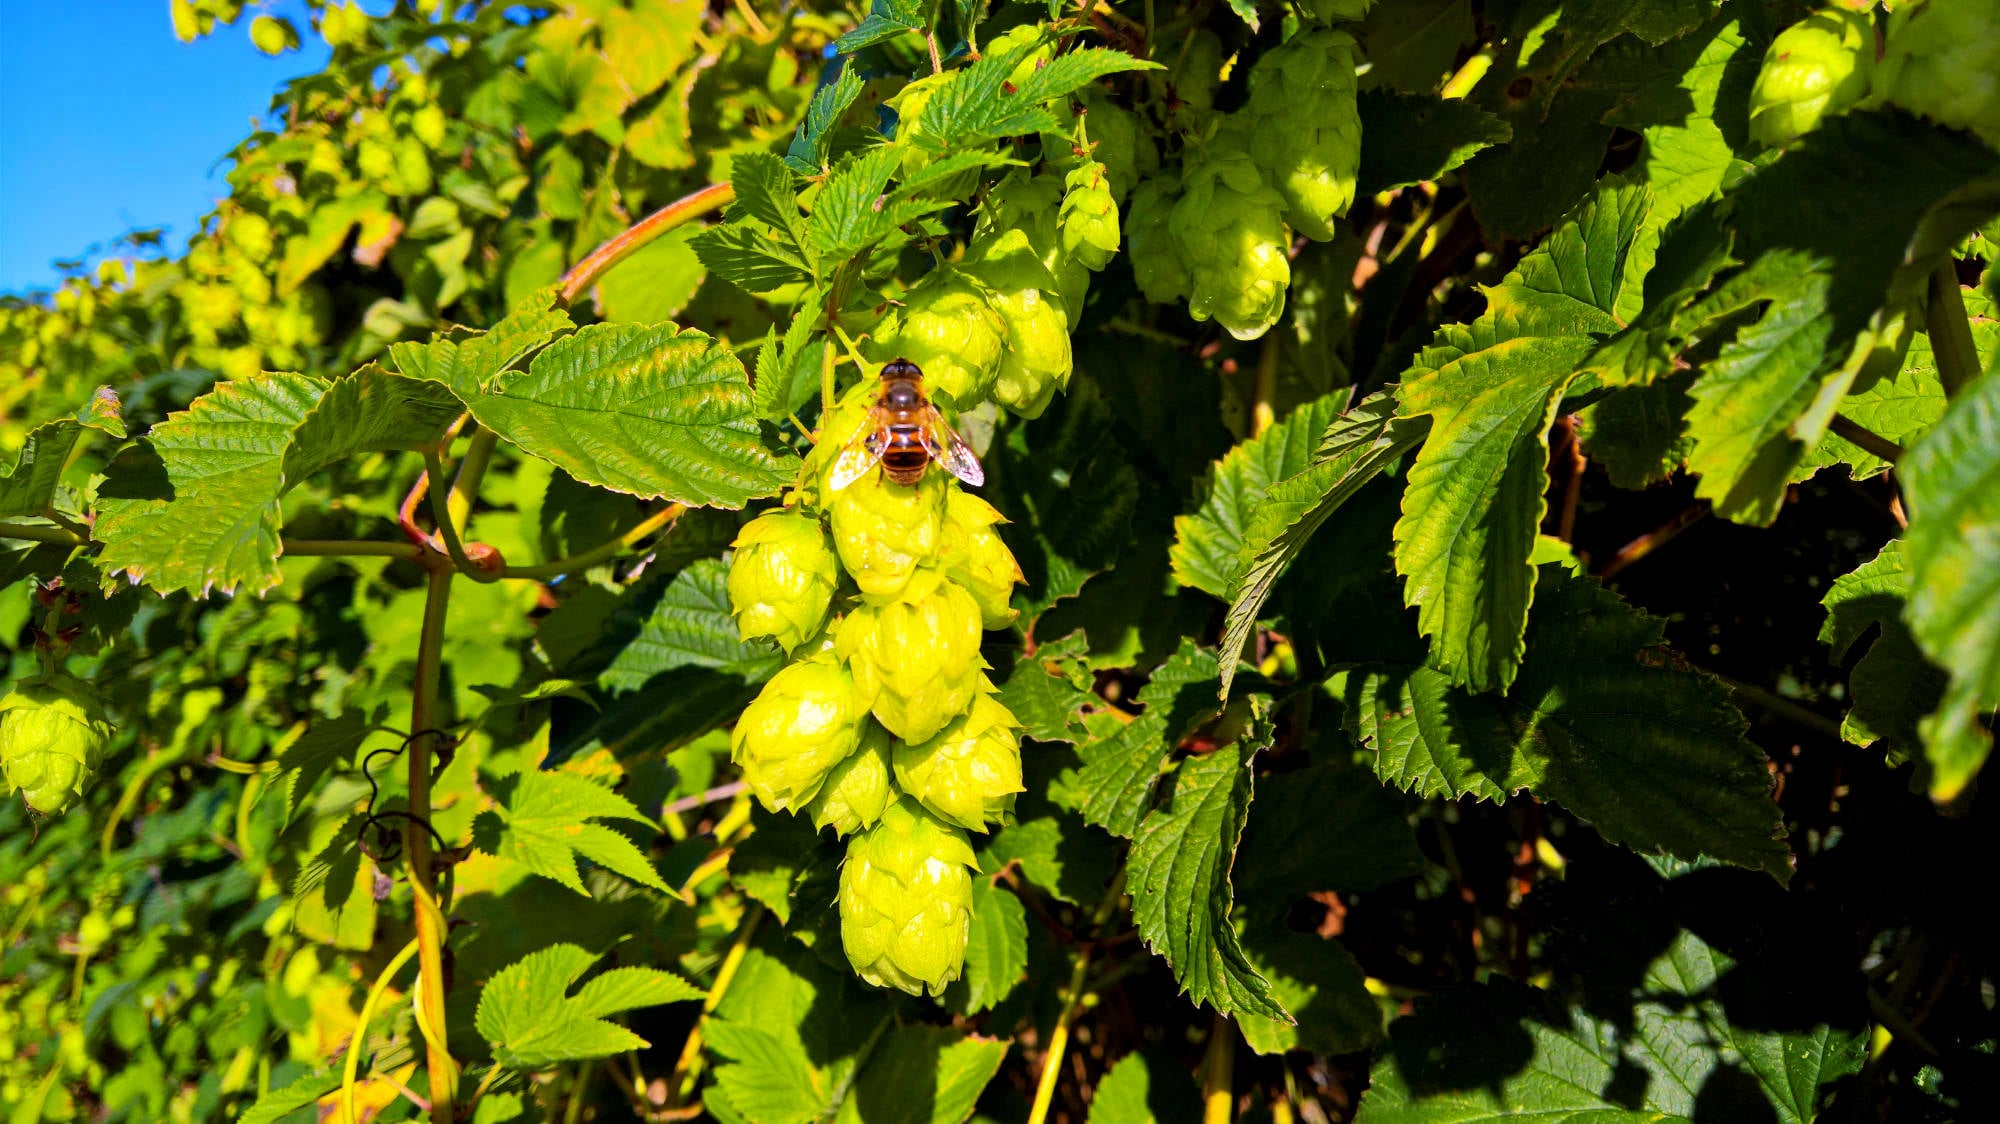

AUGUST

During the month of August buds begin to form and grow from the crown and rhizomes of the hop plant. These buds will be the new seasons bines. Pick the best 2 or 3 for each string and cut off or laydown the others.
This is a good time to order new hop plants.
Towards the end of August start to give liquid fertiliser to the crowns and repeat fortnightly. Fish and seaweed dilutions are good at this time. Remember your bines are a vegetable at this stage so use something like Yates Thrive Vegie & Herb Natural Fish Blood & Bone+ Concentrate
SEPTEMBER
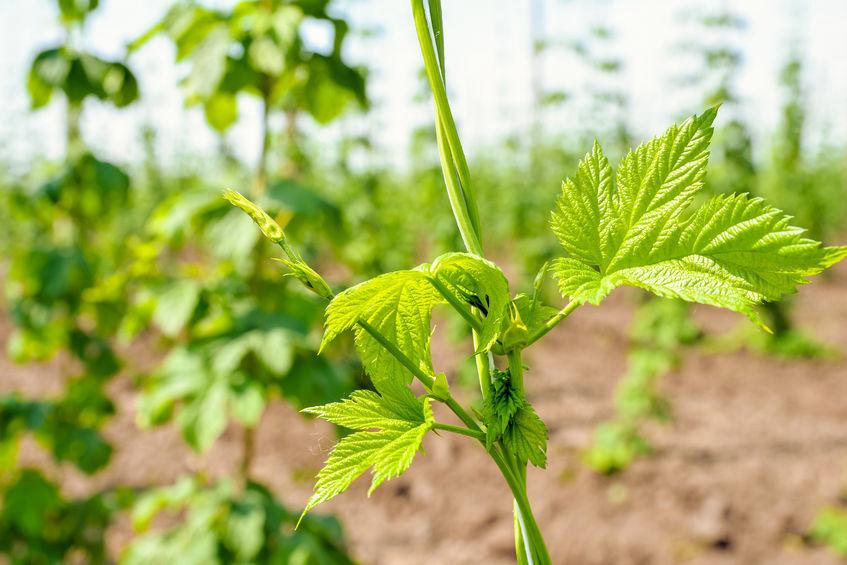
Towards the end of September the bines should be long enough to twist around the strings in a clockwise direction. Choose 3 bines for each string. If you forget and try to twist them anti-clockwise they will simply unwind.
Continue to plant new hop plants.
Keep up the fortnightly liquid fertilising.
Now the new seasons growth is starting to become prominent a dusting of lime, rock phosphate, dolomite and a WELL COMPOSTED animal manure can be spread near the base of the plants about 5 cm away from the crown. You will know when to repeat this when the particles can no longer be seen. This can vary depending on how you water your plants and the amount of rainfall you receive in your area.
OCTOBER
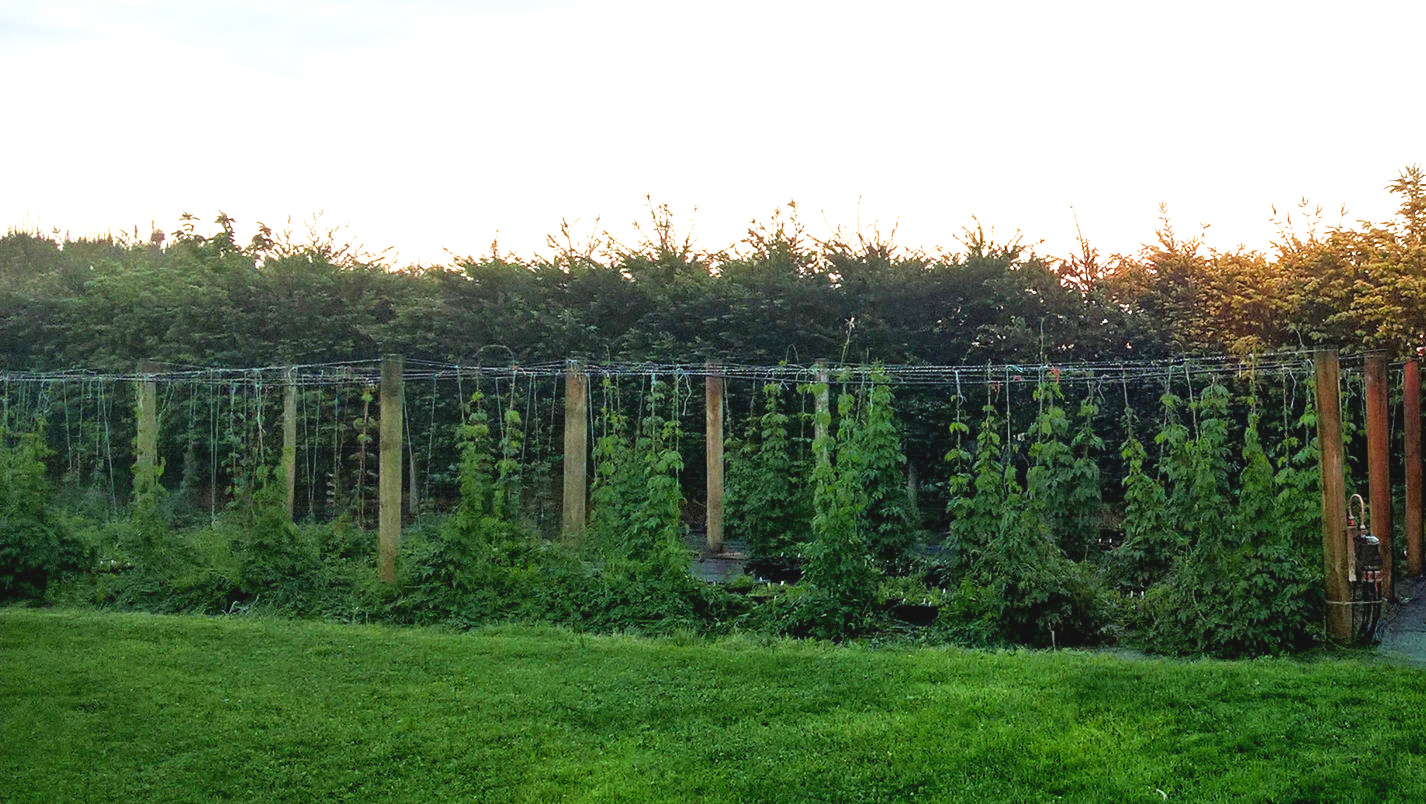
The hop bines continue to grow sometimes achieving 30cm of growth per day. In the photo the bines had reached the top of the 3 meter wire on the 25th October. From here we start to train them horizontally.
Start fertilising for flower formation using something like Yates Thrive Roses & Flowers Natural Fish & Seaweed+ Concentrate. Also a measured addition of Yates Fruit & Flower Booster Liquid Potash is useful.
NOVEMBER
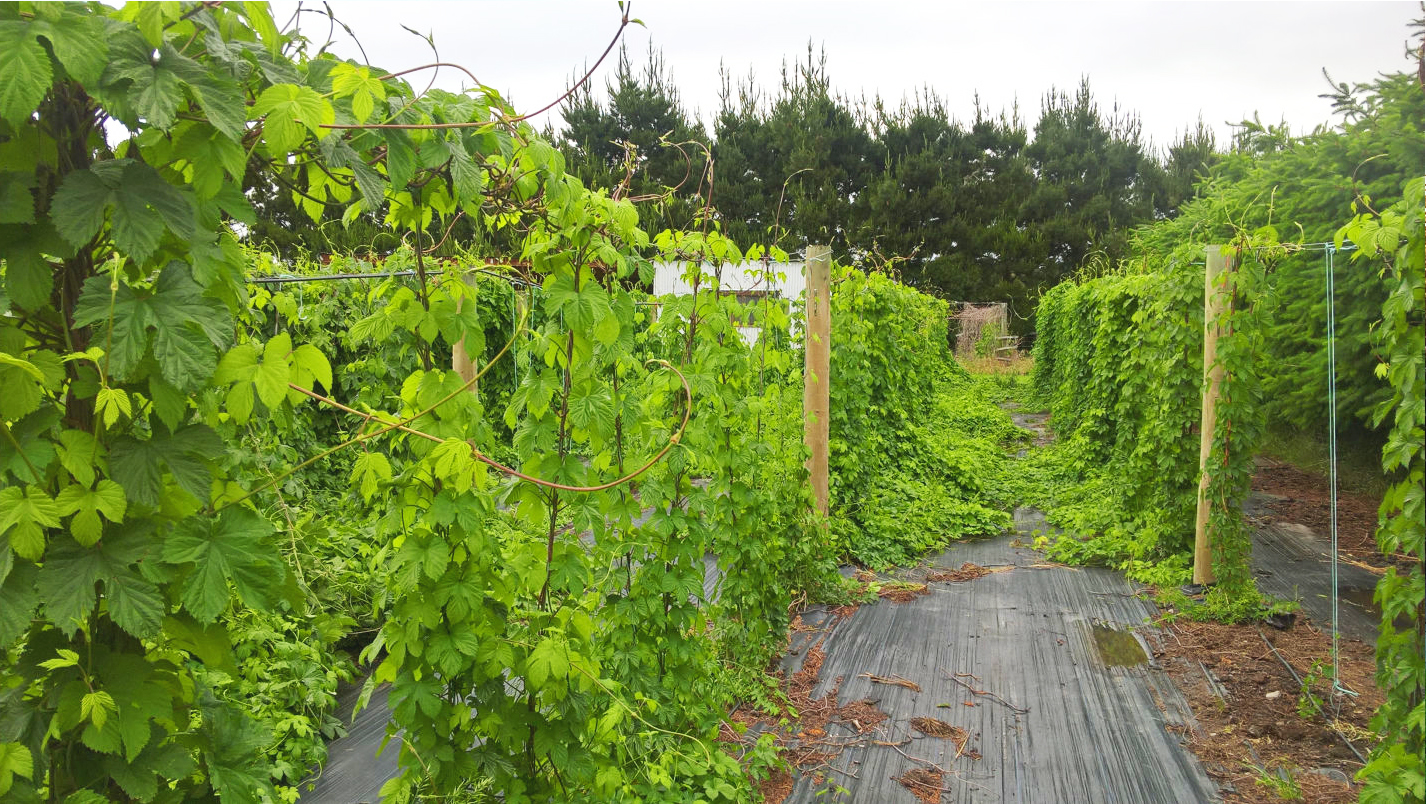
Continue fertilising for flower formation using something like Yates Thrive Roses & Flowers Natural Fish & Seaweed+ Concentrate. Start to trim any bines that are growing at the base of the plant that aren't required as they will use nutrition that would be better ustilised in your chosen 2-3 bines per string with the end result being larger hop cones packed with alpha acids and oils that will flavour your brews beyond expectation.
DECEMBER
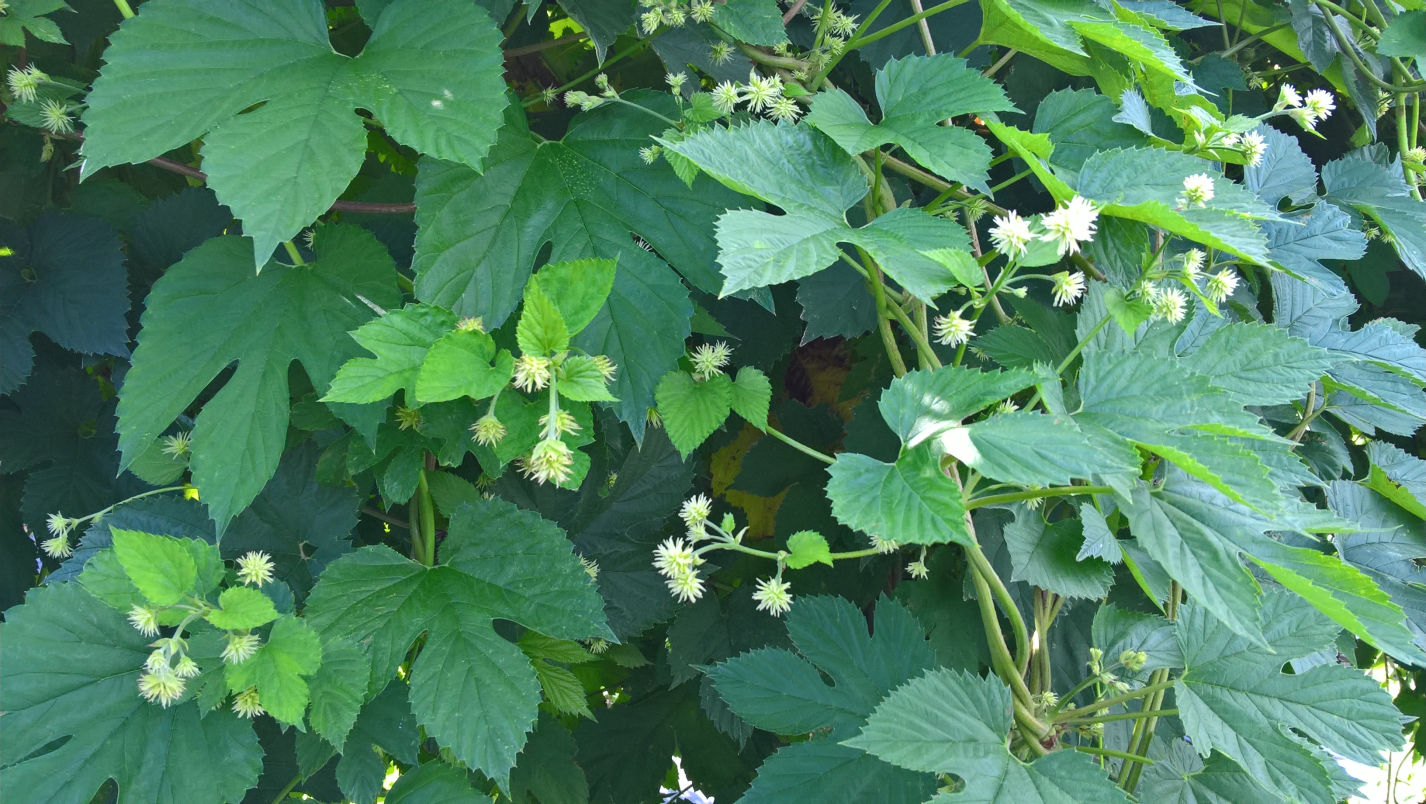
Small white burrs that are the female flowers start to appear towards the end of December and these will grow into the female hop cones used in brewing and decoration. If they are pollinated by the pollen from a male hop the resulting cones will also contain seeds.
Now the flowers are forming start to use a fertiliser for fruit like Thrive Flower & Fruit Soluble Plant Food &/or Yates Fruit & Flower Booster Liquid Potash
JANUARY
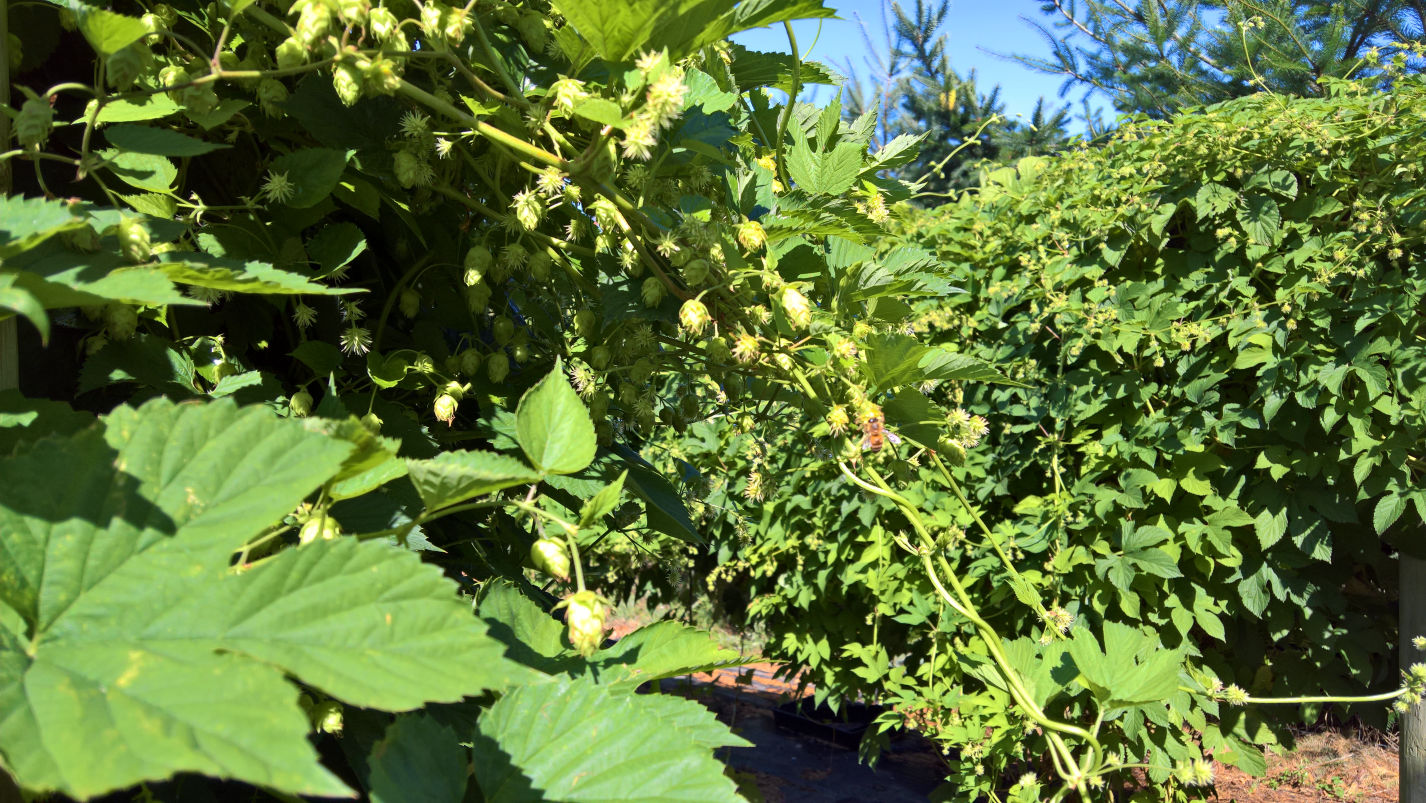
Flowers continue to form on later varieties and small cones are forming on others. Some plants will have a mixture of flowers and small cones. Keep up maintenance of the crowns and continue to fertilise with Yates Thrive Tomato & Vegie Natural Fish Blood & Bone+ Concentrate or similar.
FEBRUARY
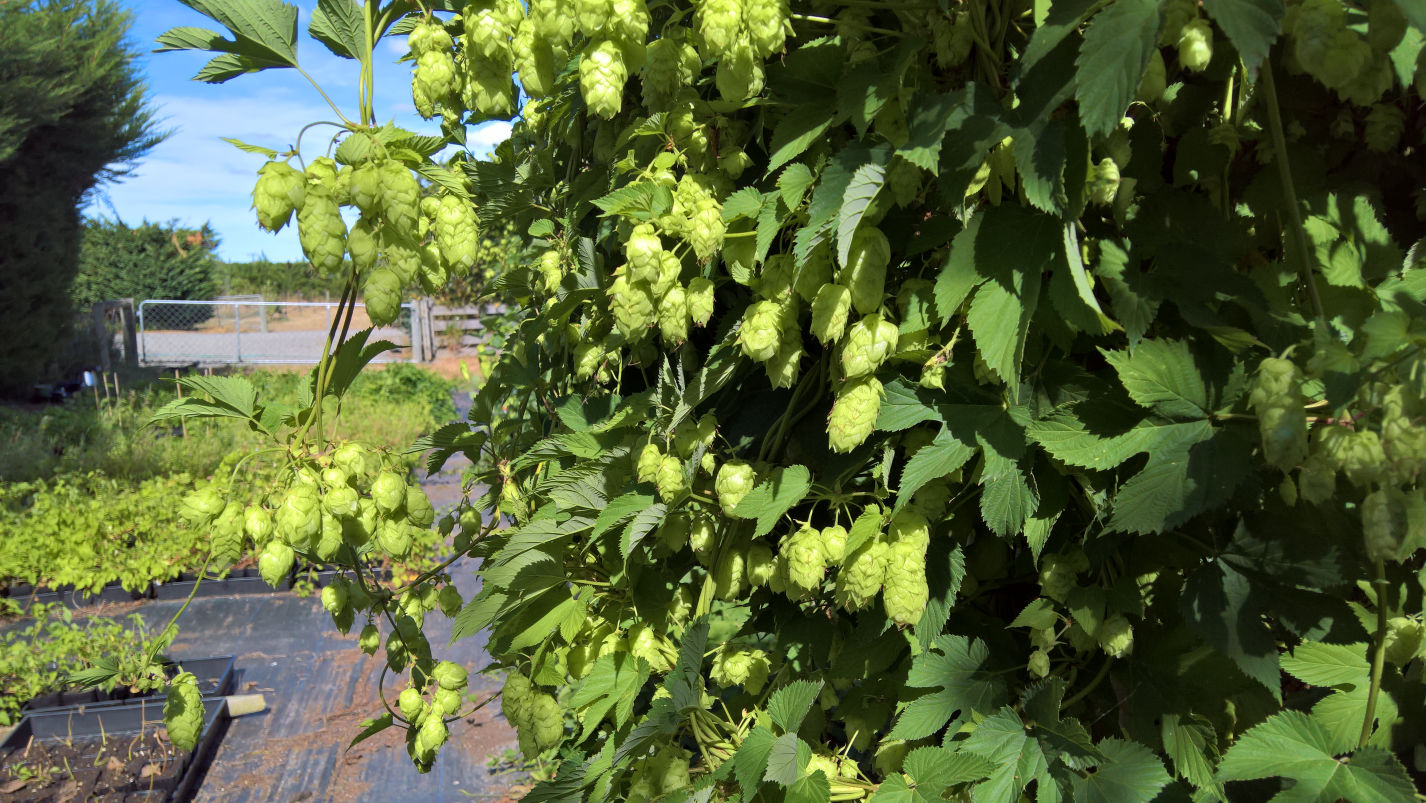
Cones are reaching full size and lupulin is being formed. Start feeling the cones between your fingers for a papery-ness which means they are starting to dry and are ready for testing. We want to pick our cones at their peak of lupulin and oil production so we start testing in the last week of February when the Tangerine Dream® & Cascade are ripening and sometimes ready for picking. We are looking for 20-22% moisture. Areas in the North may have some varieties of hops mature mid February.
CLICK HERE FOR PICKING & DRYING GUIDE
MARCH

This is the busiest time of the year in the hop garden when the cones start to mature and must be picked at exactly the right time, when the cone moisture is around 20-22%, in order to get the maximum amount of flavour components in the cones and into the resulting beer made incorporating those cones.
Each variety will have a slightly different maturing time and this will also vary from year to year. Use our guides to calculate the correct time for picking and drying.
CLICK HERE FOR PICKING & DRYING GUIDE
As our plants are only 3 metres high we leave our plants growing in situ and pick all the choicest hops whilst standing up or on a small step ladder. We then transfer the hops to drying trays in a colourbond steel shed to dry naturally over a few days. In years where the weather has not been conducive to drying we use a fan heater blowing on the trays.
This is also a good time to consider making a Fresh Hop Beer
GUIDE TO MAKING FRESH HARVEST HOP BEER
APRIL
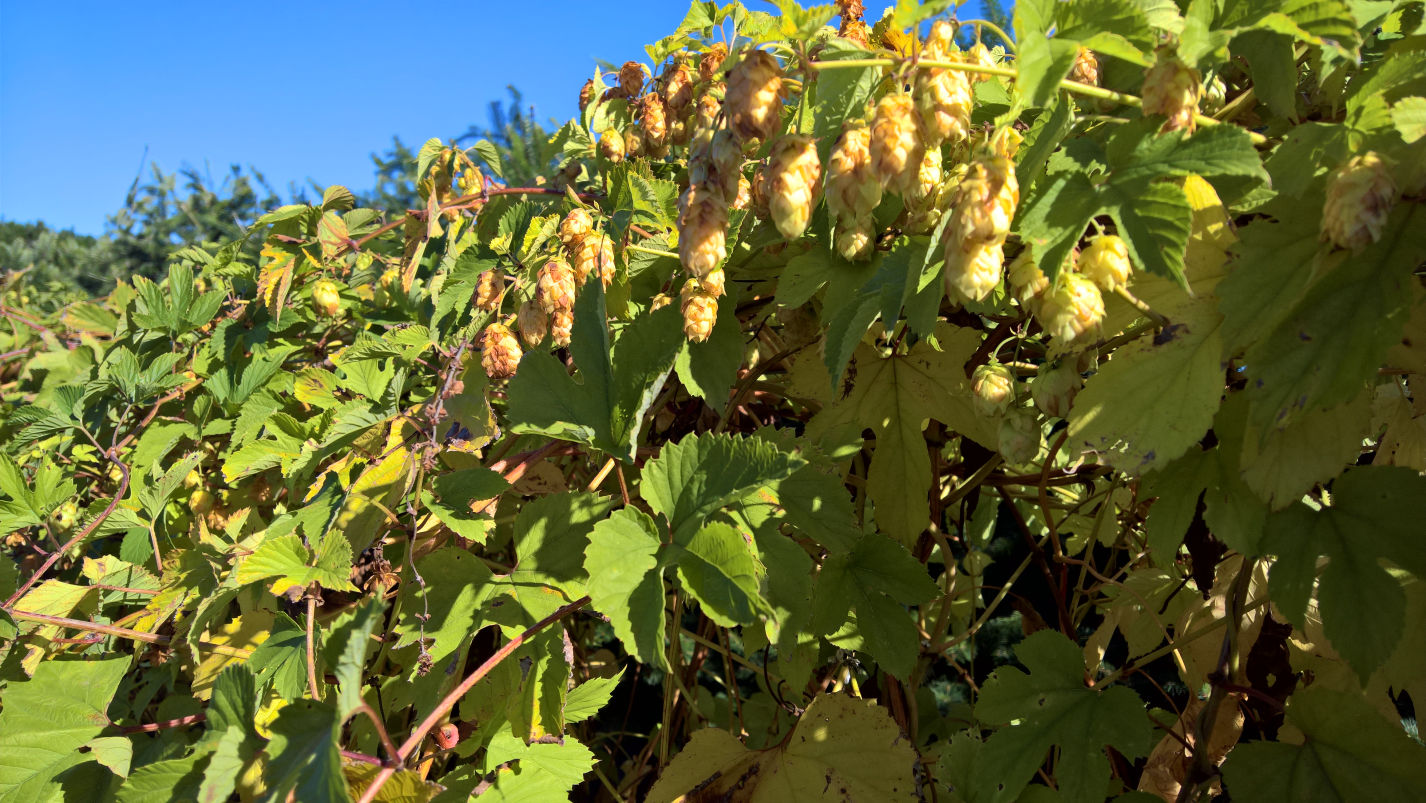
The cones that weren't picked from the bines during late February & March now start to go brown and develop a garlic or onion smell. Nutrients in the leaves and cones are now transfered to the roots for storage over Winter to provide nutrition in the following Spring to feed the new growth.
MAY
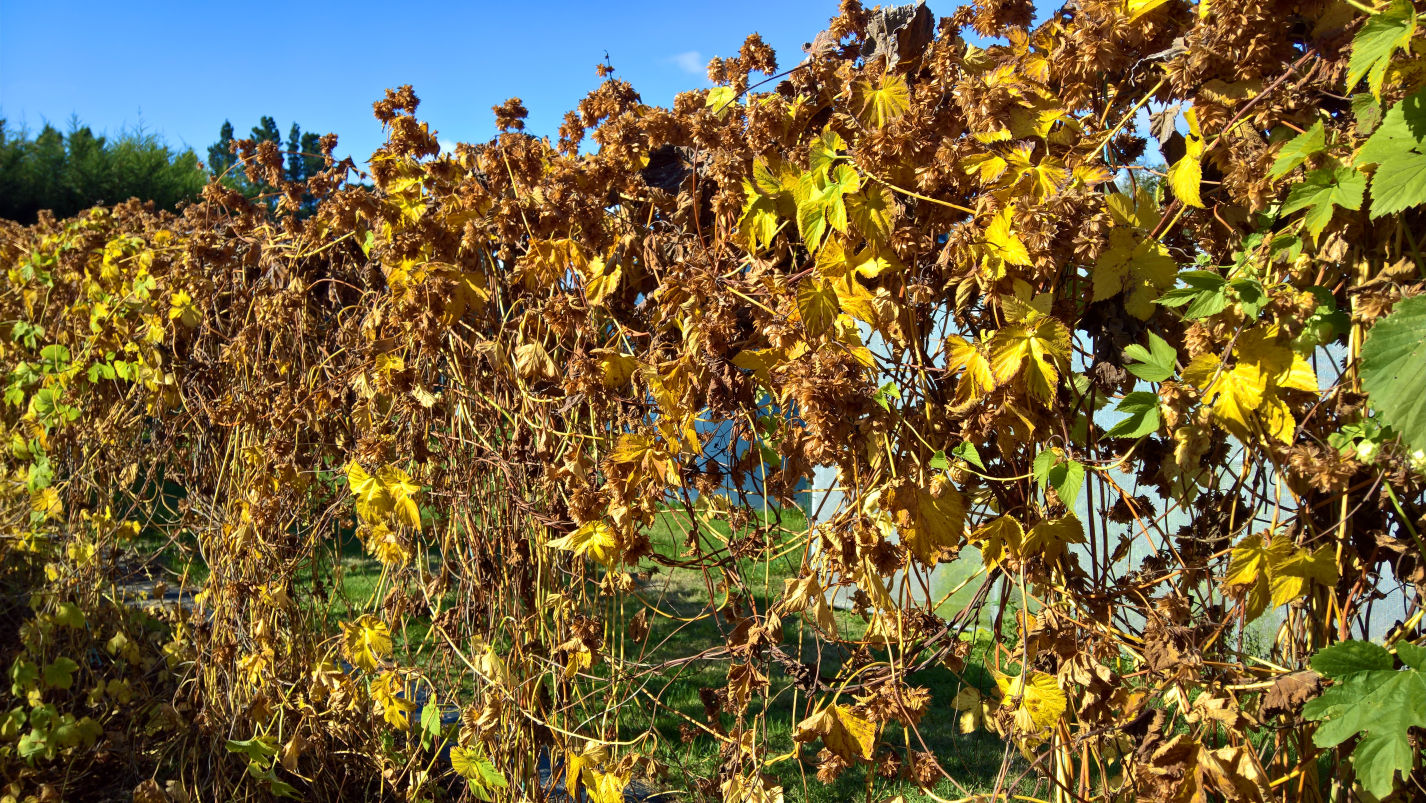
The month of May can be used to prepare your hop plants for the Winter dormant period. The ground is already naturally covered with a mulch of brown hop leaves. You can concentrate this mulch around the plants and even add to it. The leaves will decompose during Winter & Spring and return some nutrition and structure to the soil and also protect the plant from the low temperatures that are coming.
JUNE

Continue to concentrate the mulch around the plants.
JULY
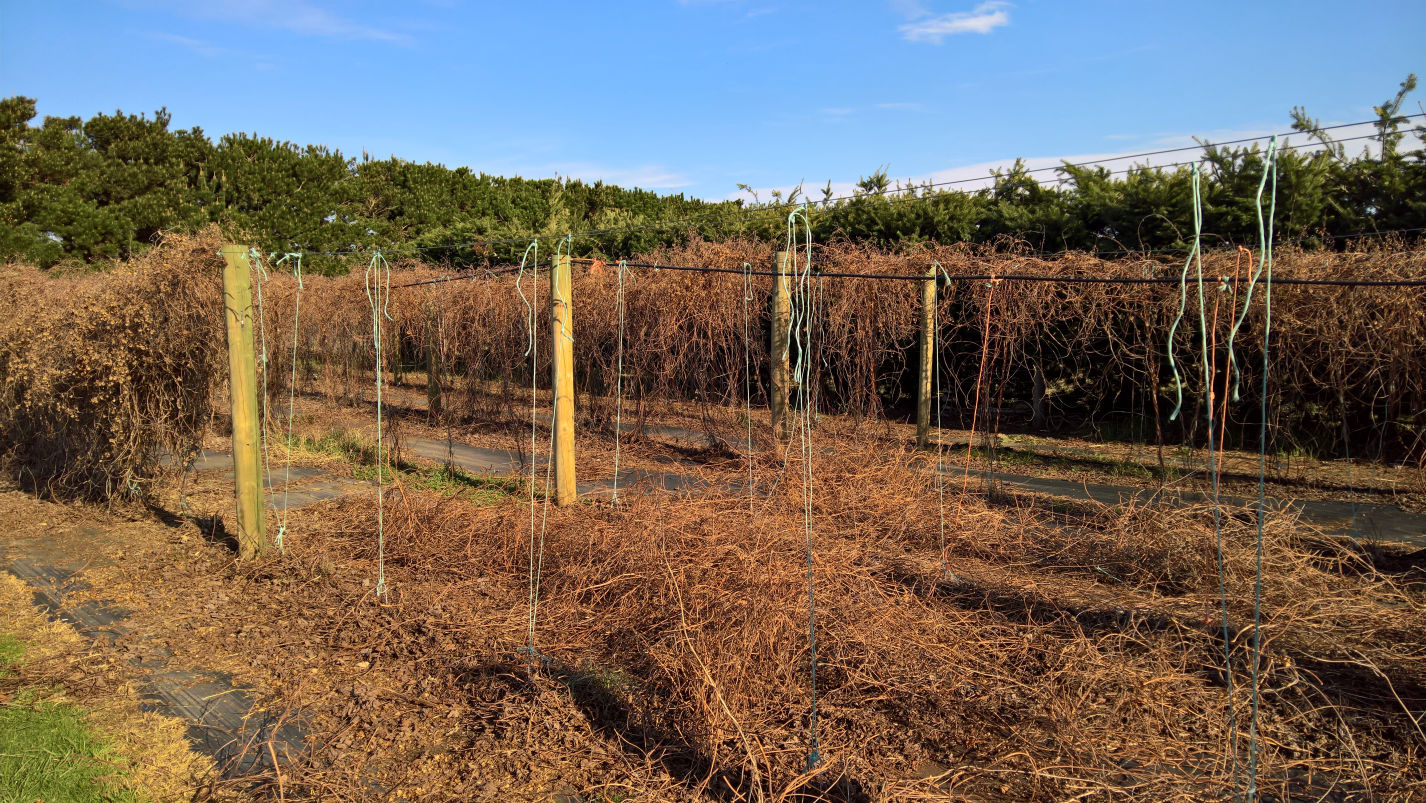
For us July is the month when we cut down and clean up the old bines and inspect and trim around the crowns.
● GROWING GUIDE FROM MIGHTY HOPS MINNESOTA USA
● HOPS FOR NEW GROWERS - GROWING GUIDE FROM DPI, NSW, AUSTRALIA - (INCLUDES INFO & PHOTOS OF NZ HOP GROWING)
● BASIC HOP PHYSIOLOGY
● HOP HARVEST FACT SHEET