HOW TO GROW HOPS

BASIC REQUIREMENTS
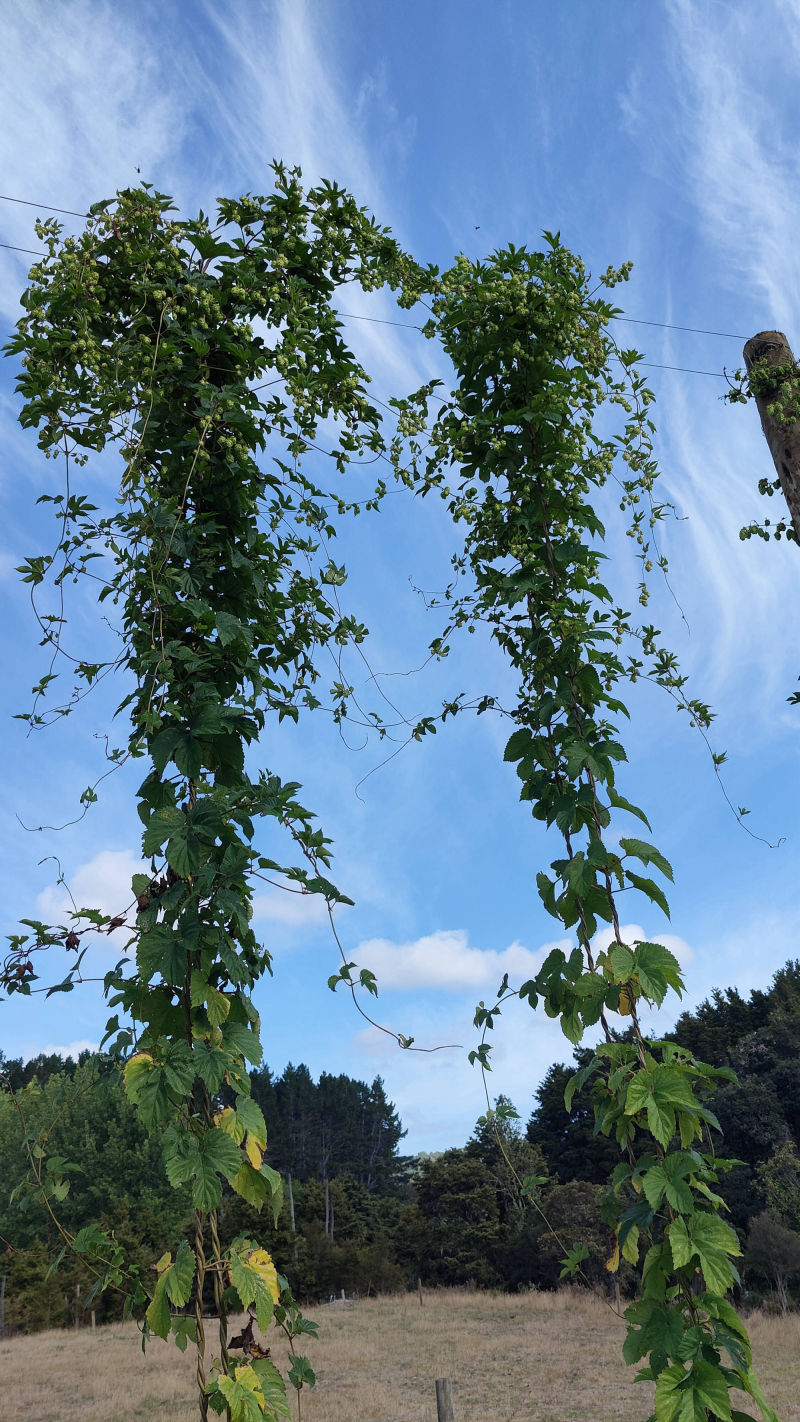
  • Basic Requirements: Plenty of space. Since healthy hop plants can grow vertically up to 30cm in a day, space is an element to consider before planting a hop yard. A wind break can also be useful.
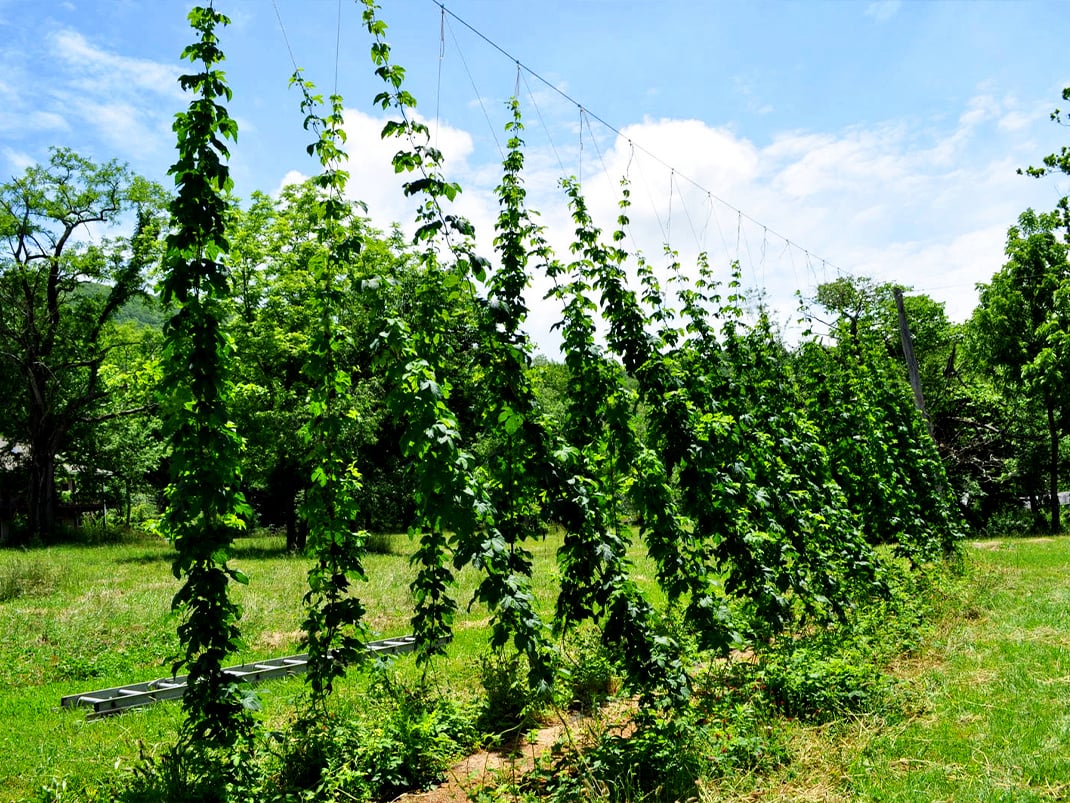
  • Site selection: The ideal hop yard must have direct sunlight, easy access to water, and plenty of room for vertical growth. Space along fences, garages, or property lines hold potential as hop yards. Hop bines also need a strong support system to grow successfully; tall poles with high tensile wire framework and strong twine are commonly used to support the growing bines. Winds can be subdued with wind break cloth or a nearby shelter belt.
  • Soil: The soil must be well drained with a pH of 6.0-7.0. As hops use large quantities of water and nutrients, the soil needs fertilizers rich in potassium, phosphates, and nitrogen. Home growers can use mature compost or commercial fertilizers for this purpose. We use well composted cow manure, trace elements, rock phosphate, lime, dolomite, gypsum & seaweed with most being added monthly throughout the growing period of Sept - Feb either as a solid or liquid addition. Also consider nitrophoska as an inorganic nutrient solution.
  • Climate: Wherever the hops are planted, a minimum of 120 frost-free days are needed for hop bines to produce flowers. When the stems break soil and create a bine of 30cm or more, you must support the bines off the ground to ensure proper growth usually with string, twine or coir rope. The bines keep growing up until mid-February when most hops have flowered and are producing cones, depending on the variety and location. Healthy bines can produce 300 - 1000 grams of dried flowers per plant.
  • The good news is that all of NZ is within the latitude for successful hop production. More detailed planting instructions for potted plants are at the link below.

GROWING IDEAS FOR THE HOME GARDEN

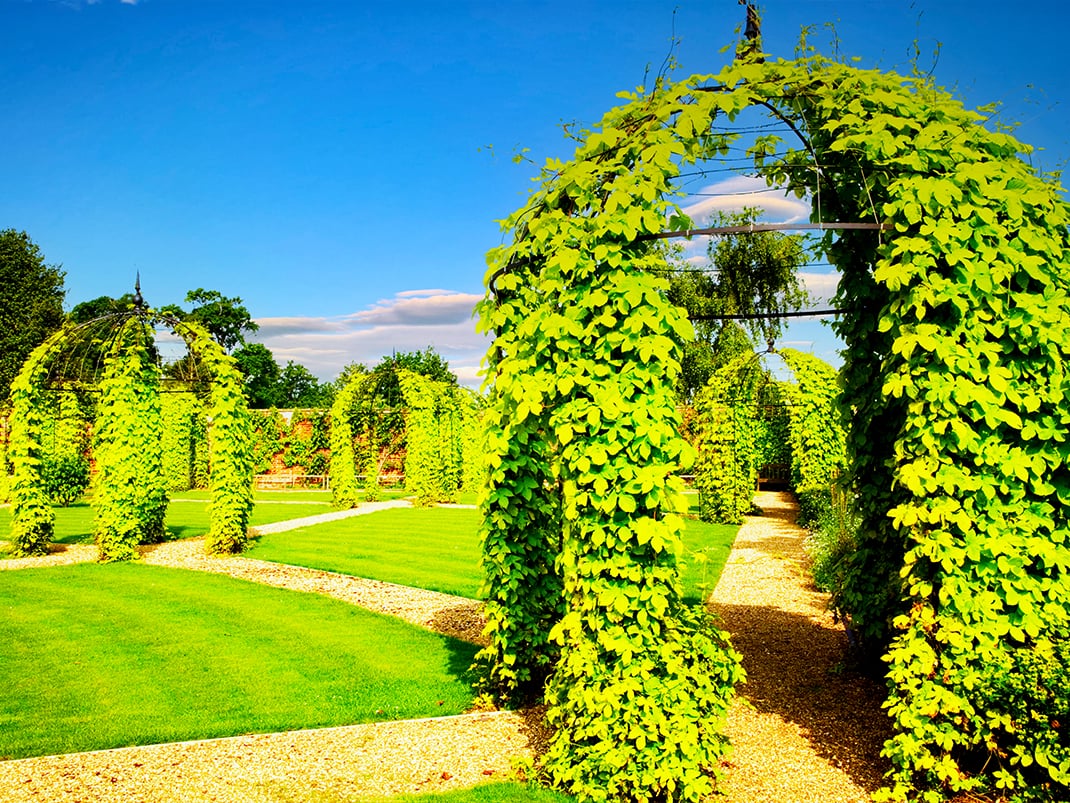
DECORATIVE
2 METRE TRELLIS IST YEAR
2 METRE TRELLIS 2ND YEAR
6 METRE TRELLIS
PLANTING HOPS
  • Once the growing site has been chosen and prepared planting can begin with potted plants from a nursery. Ideally, you should plant your hops in early spring, and no later than November if you want a harvest of hop cones. Young hop plants can be affected by freezing temperatures. To avoid loss of your new hops, plant them after the threat of frost has passed. Bines will break from the soil when temperatures have risen to the point at which most spring flowers start to appear, usually September. The actual onset of growth will vary depending on your local spring temperatures and hop varieties.
  • It is possible to plant right up to February in the Southern Hemisphere but late planting limits the plant's potential and although the plant will establish itself for vigorous growth next season, there will usually be no hop cones.
  • Hops are massive feeders. We put sheep wool, water storing crystals, fully composted animal manure, bio-fungicide granules and rock phosphate in the base of the planting hole, cover it with some soil so the roots of the hop have to grow down into the nutrients.
  • When planting, place the hop plant in the hole with the soil of the plant and the top of the hole at the same level then back fill with the original soil and sprinkle a fair amount of garden compost or nitrophoska in a circle around the plant but a few cm away from the dormant or emerging bine.
  • Spacing between plants varies. If you want to grow mixed varieties plant them at least 3 meters apart as they tend to grow into each other, both roots and bines, and make it difficult to pick just the one variety. Several plants of the same variety can be planted closer together at about 1 meter apart.

GROWING IDEAS FOR THE HOME GARDEN

PATIO
MAYPOLE
7 METRE TRELLIS
OUTDOOR RECREATION & BARBEQUE AREA
CARE & FEEDING
  • During their first few months of life, young hops have a minimal root system of fibrous roots and require frequent short waterings at least every second day for 10 minutes unless it has rained. Drip irrigation works well keeping the soil moist and the leaves dry. Mulching the soil surface with organic matter is a great method for conserving moisture and helps control weeds.
  • In the first season the plant establishes a tap root as well as fibrous roots and rhizomes. Don't expect many cones during the first year because the plant is still establishing its root system. Instead, look forward to the second & third year when your hops are fully grown and produce healthy crops of fragrant cones.
  • In newly planted hop yards, the growth that first appears is a cause for celebration. New growers have a tendency to let every shoot grow and climb. The first bines that appear from the hop crown are usually strong and vigorous bull canes. They will produce hops but will not be as productive as the next bines to emerge so the best practise is to lay these bull canes flat on the ground. What you are looking for are bines with the leaf nodes at the minimum distance apart (use the bull canes you laid on the ground to compare the new bines internodal distance). The reason for this is the hop flowers which become hop cones are borne on laterals that emerge at the leaf nodes. The more leaf nodes on a bine the more hop cones. Select two or three of the most productive bines and wrap them clockwise around your support system. The support system can be a strings attached to a trellis, a tall pole, or any structure that will provide height.
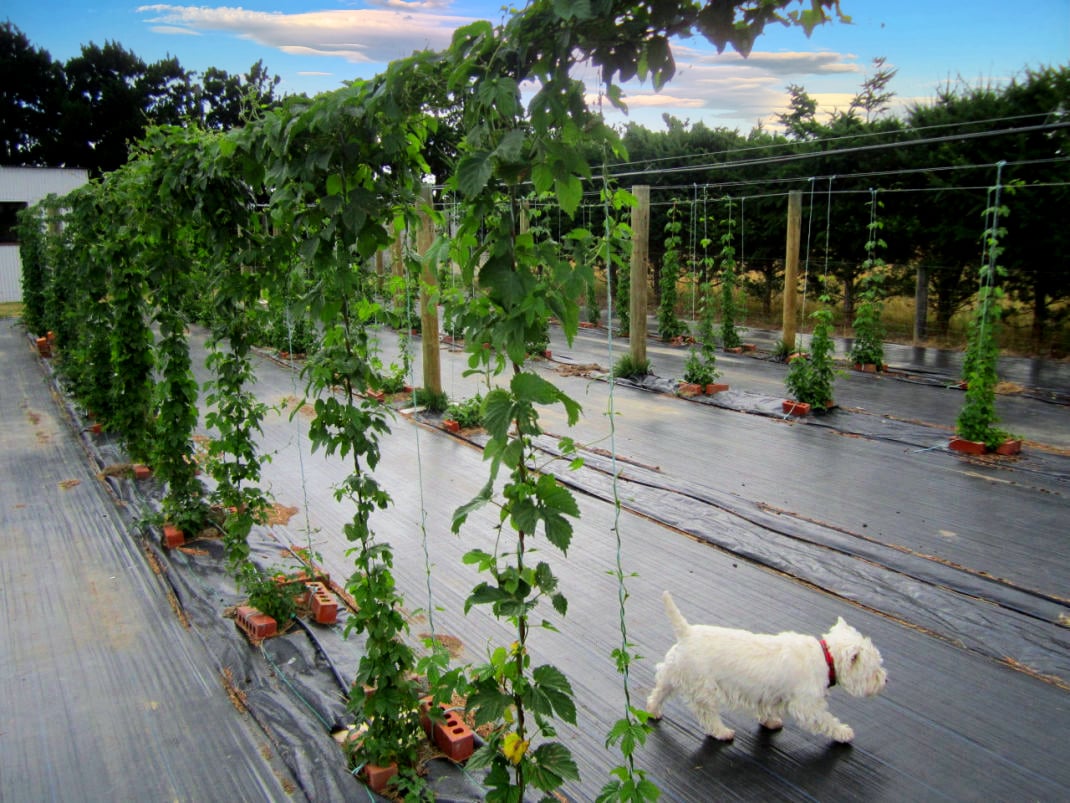
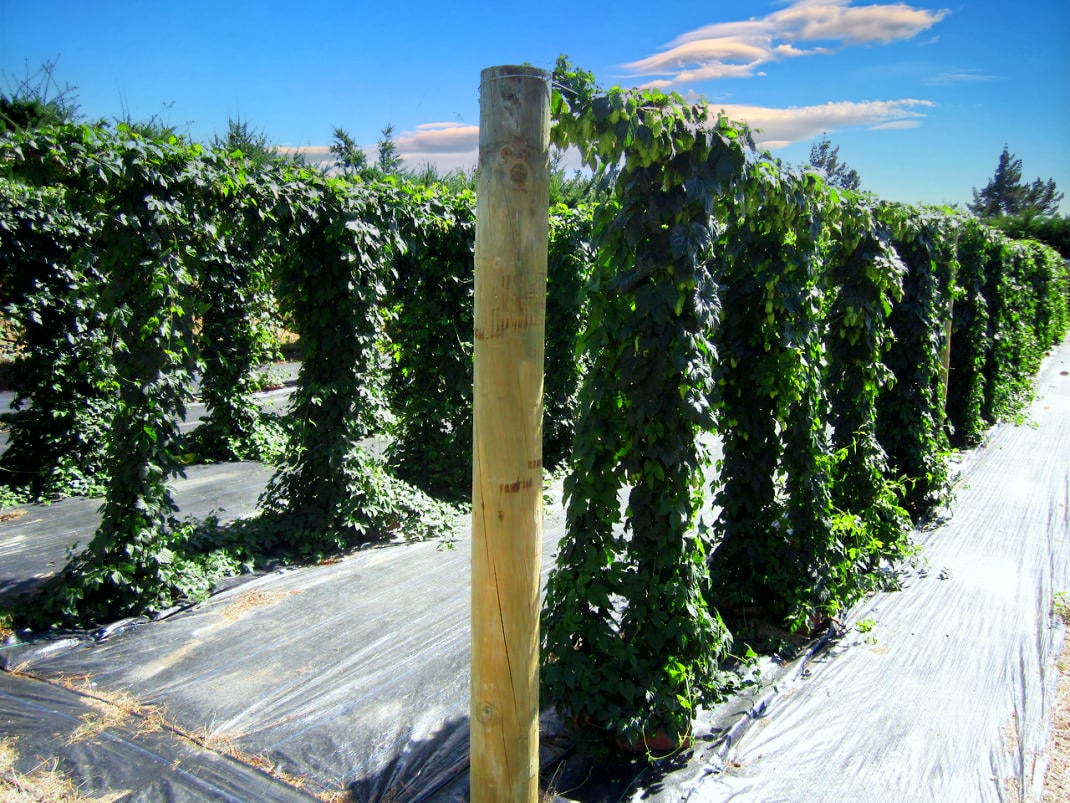
  • Hop bines grow vertically but later in the season the lateral sidearms extend off the main bine at the leaf nodes horizontally and the side arms are where the flowers and hop cones form. For reasons of expediency (initial cost, protection from wind, ease of harvest) we grow our hops vertically for 2 meters then horizontally along wires on a trellis system using deer fence posts. (see below)
  • The early growth of a hop garden is amazing to watch. If you are not attentive, however, a jungle of bines is sure to develop. Severe trimming, like two to three bines per string, is an essential task that must be done at a minimum every week, preferably daily. Neglected trimming sessions can cause you to have a difficult harvest especially if you are struggling with tangled bines of different varieties.
  • Hops need a nutritious feed every week during the growing period. A fertiliser that includes Nitrogen (N), Phosphorus (P) & Potassium (K) possibly with trace elements is ideal. Nitrophoska Plus is a water soluble pellet type fertiliser that will break down slowly over a month, and soil conditioners like Lime, Gypsum & Dolomite along with a liquid feed of bio fungicide powder will create an environment for healthy root establishment. Slow release fertilisers like Osmocote are also useful.
  • Organic fertilisers like well rotted animal manure are useful also but they run the risk of creating fungal problems if they are not fully composted. Take a sample in your hand and smell it. If it smells soil like it is ready to be used. If it still smells like manure it is not ready for use.
  • We found our plants also respond well to a weekly feed of weed teas (grass clippings, weeds, comfrey, nettle, dock leaves, thistles soaked in a barrel/plastic rubbish bin full of water for a few weeks). It smells horrible but the hops love it and it's free. However, if you get it on your hands it is hard to get rid of the smell so wear gloves. We also use cow manure tea (made the same way as weed tea) and any other well composted animal manure would work also. The teas are ready to use after a week or so but the longer you leave them to soak the more potent they become.
  • REMEMBER, THE MOTTO IS: FEED, FEED, FEED & WATER, WATER, WATER! (courtesy of Jean Griffin, Kew Gardens, London)
FREE SOURCES OF FERTILISER
NAME(N)(P)(K)
Coffee Grounds201
Wood Ash017
Bone Meal4200
Grass Clippings312
Feathers1200
Comfrey leaves256
Seaweed215
Kitchen Scraps111
Leaf Mould100
Egg Shells (crushed)1380
Hair & Fur1401
Wool1001
Human Urine (sterile when fresh)1112
Banana Skins0441
Tea Leaves410
Worm Compost (made from kitchen waste)111
Composted animal manure (Sheep, Cow, Horse))111
Dried Poultry Manure432
DISEASES & PESTS
  • NZ is basically free from pathogens that favour hops so most diseases that affect hops overseas will not affect your hops grown in NZ.
  • Most problems are caused by nutrient deficiencies hence a thorough nutritional feeding program is advisable.
  • Prevent any root problems by using Trichpel products each year
  • Tetranychus urticae, also known as the two-spotted spider mite is a plant-feeding mite which chews away at the surface of the leaves and, in severe cases, flower buds and fruit. This feeding damage reduces photosynthesis and increases plant stress which can lead to reduced yields and the death of the plant.Phytoseiulus persimilis is the predominant predator of Tetranychus urticae. It is considered a specialist predatory mite as it will walk past anything else which will fit in its mouth to the point of death on its mission to eradicate the pest mite.

QUICK LINKS

Buy Hop Plants

BUY HOP PLANTS

Hop Growing Guides

GROWING, HARVESTING DRYING HOPS

Brewing Directory

BREWING

Articles About Hops & Brewing

ARTICLES

Home Brew Recipe Books

RECIPE BOOKS

Contact Us

CONTACT