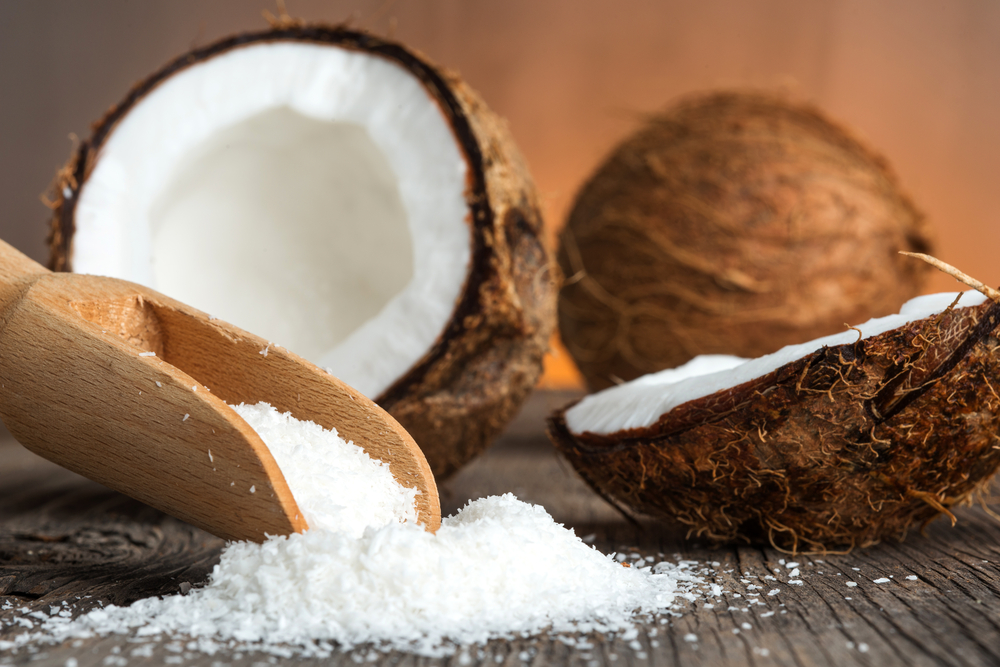

Coconut can add a further flavour dimension to certain beer styles. As a rule of thumb add raw (non-toasted) coconut to light beer styles (IPA, HAZY IPA) and toasted coconut to darker styles (AMBER, PORTER, STOUT)
Coconut can be added in the boil, in the fermenter and/or as a type of dry hop after fermentation has finished. Apart from tincture of coconut, it should be added in a grain bag to avoid blockages.
HOW TO TOAST COCONUT
INGREDIENTS:
Shredded, shaved or flaked unsweetened coconut
DIRECTIONS:
Stove Top Method
Place desired amount of coconut in a large skillet.
Cook over low-medium heat, stirring frequently, until the flakes are mostly golden brown.
Oven Method
Preheat oven to 160°C.
Spread coconut flakes on a baking sheet in a thin layer and bake in preheated oven. The flakes will toast very quickly and won’t take more than 5-10 minutes. Stir the coconut every few minutes to help ensure even color.
Microwave Method
Start by spreading about ½ cup of shredded coconut on a microwave-safe plate. Microwave the coconut in 30 second increments stirring each time. Continue cooking and stirring in 30 second increments until the coconut reaches the desired level of toastiness.
HOW TO MAKE A TINCTURE
SUPPLIES
2 jars with lids
Flowers, herbs, spices, wood, or fruit (Lime/Coconut)
High-proof liquor (vodka, etc.)
Coffee filters (or muslin cloth)
PREPARATION
1. Clean and sanitize one jar and lid.
2. Add your spice/flavor ingredients to the jar. If you are working with fruit, chop it up to increase the surface area, allowing more of the flavors to leach.
3. Pour the liquor over the ingredients until they’re covered. At the very least I recommend 200 ml because you’ll want enough that you can fine-tune the flavors. You want enough liquor that your solution will not be dilute but not too much that you will significantly increase your ABV.
4. Screw the lid until tight, then store the jar in a cool, dark place. Avoid the refrigerator since it could inhibit leaching and definitely avoid a warm, humid room such as the bathroom.
5. After 2–4 weeks, clean and sanitize the second similar size jar.
6. Cover the top of the jar with the coffee filter or muslin cloth, then slowly pour the solution from the first jar over the filter. A stainless steel coffee filter used with a paper filter will remove some oil from a coconut tincture (good!) but a stainless steel filter without the paper will work better for lime tinctures.
COFFEE FILTER
7. Once the solution has transferred to the second jar, lift out the filter with all the goodies inside and discard.
8. Seal the jar and store the tincture in a cool, dark place until you’re ready to go!
HOW TO USE A TINCTURE
Add the tincture just before bottling/kegging, when racking to secondary or with dry hopping for 3 days before bottling/kegging.
You should make more tincture than you think you’ll need because you’re going to slowly add it to your batch. Add some, taste, then add a little more if you need to. Repeat until it tastes right to you. If you’re doing this during the secondary and have a few days to work with, let it rest a day. If you still love the flavor next day all good. If not then pour in a little more. The key to this part of the process is patience.
Because you’re adding some high-octane liquor to the fermented wort, you might want to do another hydrometer reading to determine your final ABV. Adding just a little bit of tincture probably won’t change things too much. When you’re working with a larger amount, however, you could bump up the ABV by a few points. If you have some tincture left over you can save it for another batch. Don’t feel like you have to use every drop.
Another way of figuring out how much flavoring to put into a beer post-fermentation is a straightforward process and even kinda fun! Pour yourself four 4 oz. (113 mL) samples of the finished beer. Add a different, measured amount of flavoring to each glass and taste (having a pipette to measure can be especially helpful for these trials). When you decide which you like best, simply scale that amount up to the batch size.
A sample trial might look like this:
Glass 1: 4 oz. (113 mL) of beer, 1 mL of flavoring
Glass 2: 4 oz. (113 mL) of beer, 2 mL of flavoring
Glass 3: 4 oz. (113 mL) of beer, 4 mL of flavoring
Glass 4: 4 oz. (113 mL) of beer, 6 mL of flavoring
Upon tasting, you decide that Glass 2 is the taste you want. So now, you know you need 0.5 mL of flavoring per ounce (113 mL) of beer left. If you had 5 gallons (19 L) remaining (640 oz./19,000 mL), you’d need 320 mL (10.8 fl. oz.) of flavoring to achieve the same flavor as the trial.